|
|
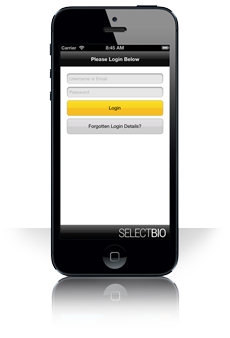
To login into the SELECTBIO app you can use the same login details used to login
into the website.
If you have forgotten your login details you reset your password using the Reset
Password option. To do this, click on the Forgotten Login Details button
and then enter your account email and then click the Reset Password button.
An email will be sent to your email address allowing you to reset your password.
If you have any problems with logging into the app then please contact our Support
Department by clicking on the link below:
Support

|
|

|
|
|
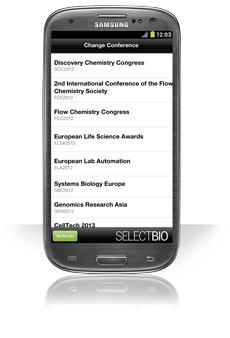
Once you have successfully logged into the SELECTBIO Application you should
be presented with the Change Conference screen.
This screen lists all of the conferences that you have been registered to. If on
the initial load your screen is empty, then click on the refresh button. This will
re-download all of your registered conferences.

|

|
|
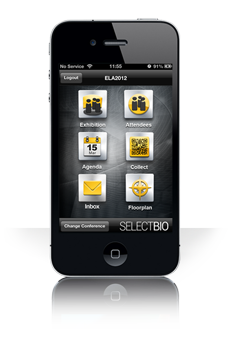
The Main Index page is the navigation center of the application. You can access
all of the different aspects of the application by clicking on the main navigation
buttons.
Your choosen conference shortname will appear at the top of the screen to ensure
that you now what conference you have chosen.
You can log out of the app by clicking on the Logout button. This will direct
you back to the Login Page.
To change the conference you will have to click on the Change Conference
button and then select the conference that you would like to view from the list.

|
|

|
|
|
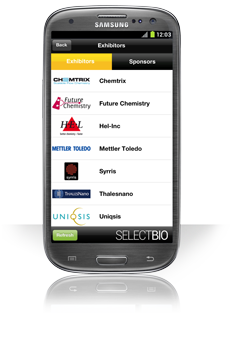
This pages allows you to view all of the Exhibitors and Sponsors for your chosen
conference.
You can visit the Exhibitors website by clicking on the relevant Exhibitor from
the list.
You can also view the conference sponsors by clicking on the Sponsors tab
located at the top of the screen.

|

|
|
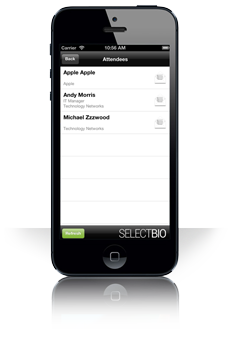
The Attendees page lists all of the delegates who will be attending your
chosen conference.
The page also gives you the ability to message delegates. The application incorporates
the U-Network delegate interaction system
which gives you the facility to pre-arrange meetings or follow up on discussions
held at the event.
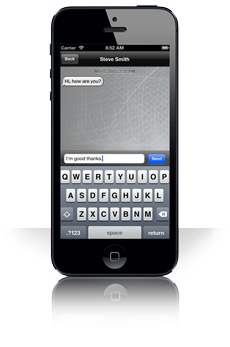
To send a message to a fellow delegate you will have to first tap on the person
that you would like to message from the list. You will then be sent to a messaging
screen allowing you to send and receive messages shown here.

|
|

|
|
|
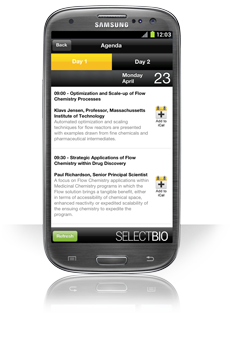
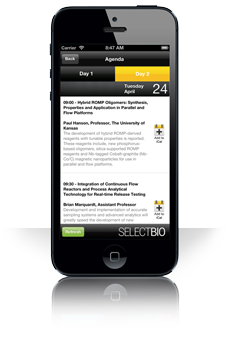
The Agenda page gives a listing of all of the talks that will be taking place
throughout the duration of the conference.
The Agenda page also provides information on Tech Spotlights and Coffee breaks
and Drinks Receptions.

|

|
|
The Agenda page also gives you the ability to add a talk to your phone calender.
To do this, first find the talk that you would like to add to your calender.
Then press and hold the talk until a message appears stating that the talk
has been added successfully.

|
|

|
|
|
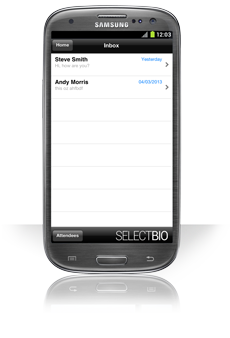
The Inbox page lists all of your conversations and messages with delegates
at your chosen conference. Under each of the delegates in your Inbox is the
latest message that was sent or received.
To view the conversation in more detail or to reply to the message simply click
on the relevant message and you will be taken to the Conversation
page. This page also allows you to visit the Attendees
page to enable you to message anyone from your chosen conference. To do this just
click on the Attendees button located at the bottom left hand of the screen.

|

|
|
This page allows you to send and receive messages with other delegates.

|
|

|
|
|
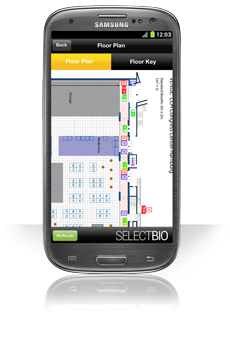
The Floor Plan page gives you a detailed plan of the Exhibition hall. The
Floor Plan details include the location of things such as exhibition booths, Cafe
Area, Media Area, Poster Area and Workshops. The Floor Plan is also zoomable allowing
you to zoom into floor plan.
To view the Floor Key page, click on the Floor Key
Tab located at the top of the page.

|

|
|
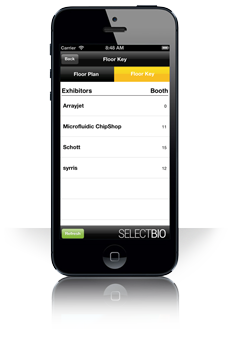
The Floor Plan Key lists all of the Exhibitors and booth numbers that appear
on the Floor Plan.
If the list doesn't appear when you first visit the page then click on the Refresh
button to re-download the exhibition list.

|
|

|

|
|
|

|
|
|
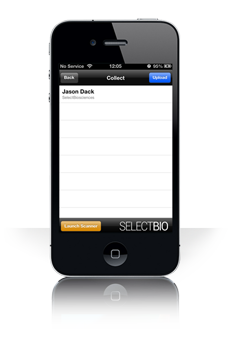
This pages allows you to view all of the Delegates that you have scanned.
It also allows you to upload all of your scanned delegates to be accessed in the
Lead Retrival Section in your account. Your account can found on the SELECTBIO
website here.
To scan a Delegate, click on the Launch Scanner button. You will then be
taken to the Scanner page.

|

|
|
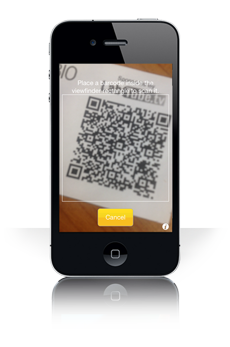
This page is used to scan Delegate badges.
To obtain the Delegate information you will need to position the QR code
so that is central within the viewfinder.
All of the QR code must be contained within the boundaries of the viewfinder.
Once the QR code is in focus you will hear a beep, this is used to indicate
if the scan was successful and you will then be taken to the
Delegate Save screen.
To return to the Collect page, click on the Cancel.

|
|

|
|
|
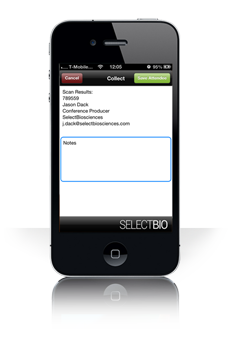
Once you have scanned your Delegate, your scan results will appear on the screen.
The details obtained when you scan the badge are:
There is a section that allows you to enter notes for each scanned Delegate. To
add a note tap the Notes section and then enter your information.
To save a delegate, tap on the Save Attendee button. You will then be taken
back to the Collect page.

|

|
|
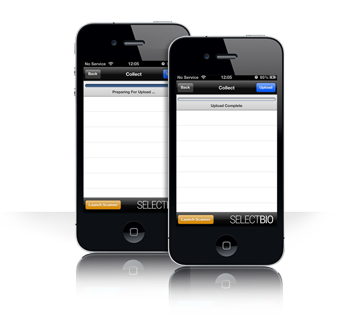
The Collect section allows you to upload all of the information that you
have collected to the SELECTBIO server. This creates a backup of your data
which can be accessed in the Lead Retrieval section in your account
To upload your information, tap on the Upload button and a progress bar will
then appear.
Once the data has been uploaded to our servers the progress bar will indicate if
the upload was successful or not.

|
|

|
